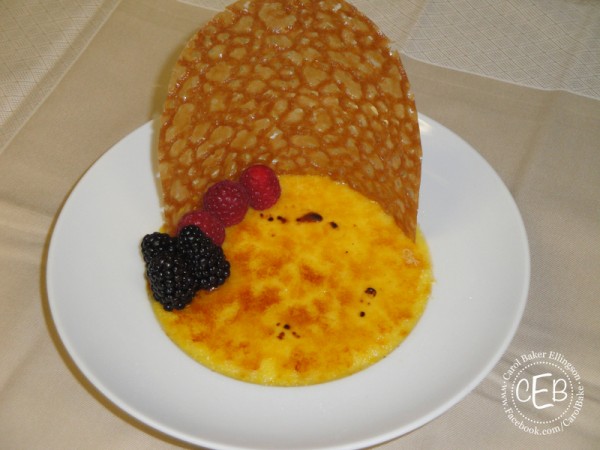
Please welcome DFB guest chef Carol E.! She’s tempting us this week with a delicious Crème Brûlée recipe from Disney’s Grand Floridian Resort & Spa. So, let’s dig in…
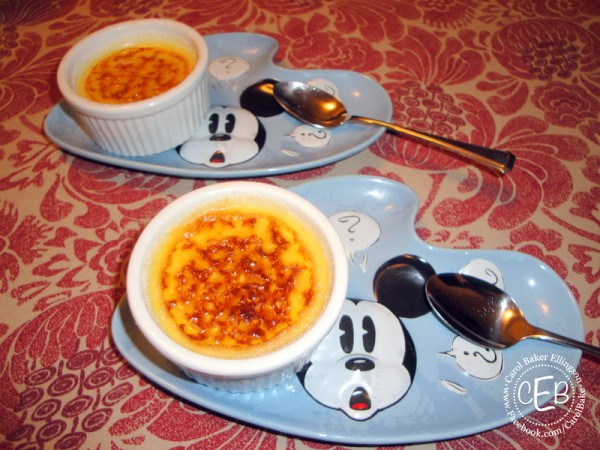
My husband and I love exploring Disney restaurants since we are lucky enough to have Walt Disney World in our backyard. On one of my birthdays, he surprised me with dinner at Narcoossee’s at Disney’s Grand Floridian Resort and Spa!
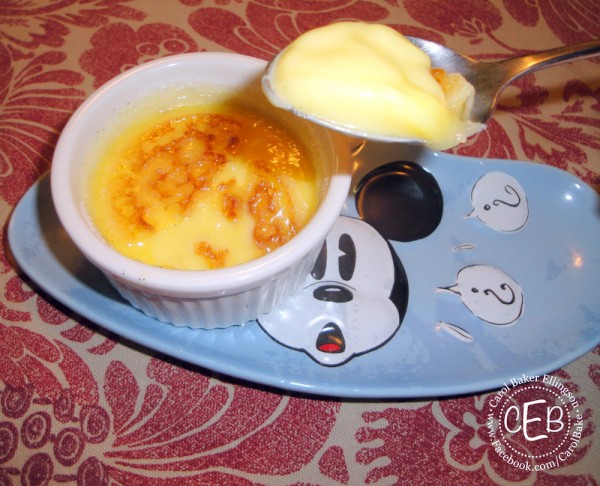
I can still remember the taste of the real vanilla bean in the crème brûlée! It was so rich and creamy. Nothing like anything I had ever tasted. The perfect ending to the perfect meal!
Disney Creme Brulee Recipe
I want to share with you that wonderful memory of crème brûlée filled with the taste of fresh vanilla bean and topped off with a lot of Disney magic!
I found the actual recipe from the Grand Floridian Resort and Spa in the Cooking with Mickey and the Disney Chefs cookbook.
Before we get started, I do want to warn you that this is a plan ahead recipe. You need at least 3-4 hours in the fridge, but better if left in overnight before serving.
I have never made crème brûlée before, so at the end of the recipe below, I posted a few extra notes that may help you if this is your first time making it, too. By the way, this is my first and only batch so far, and it turned out perfect!
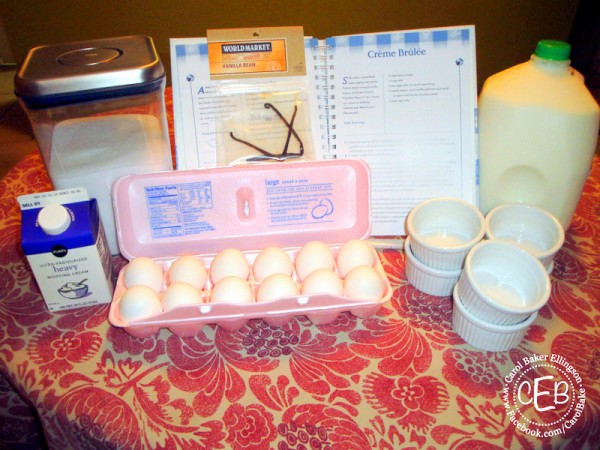
Let’s get started! Here’s your shopping list:
Ingredients — Makes 8 Servings
-2 Cups Heavy Cream
-1/2 Cup Milk
-1 Cup Sugar Plus a 1/4 cup for Sprinkling
-2 Vanilla Beans
-6 Large Egg Yolks
Instructions
-Preheat the oven to 250 degrees Fahrenheit.
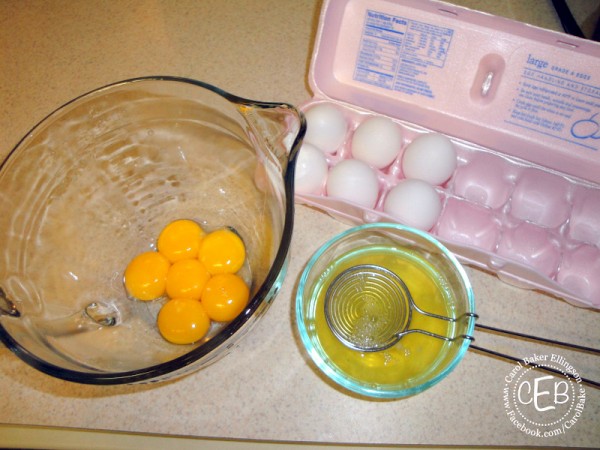
-Take 2 bowls and separate 6 egg yolks from the whites. Place the egg yolks in the large mixing bowl. Set mixing bowl aside. (Keep the egg whites to make a fantastic egg white omelet tomorrow.) 🙂
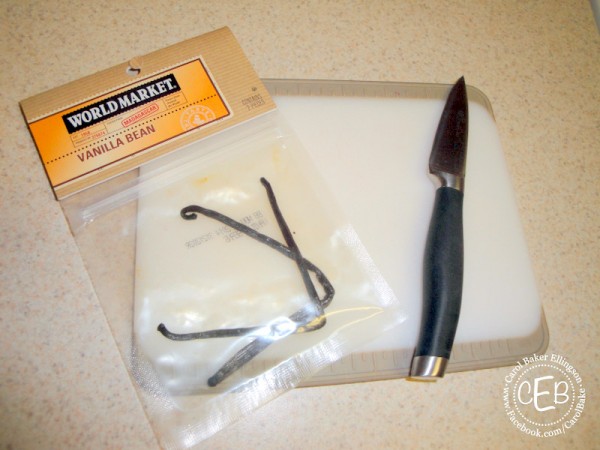
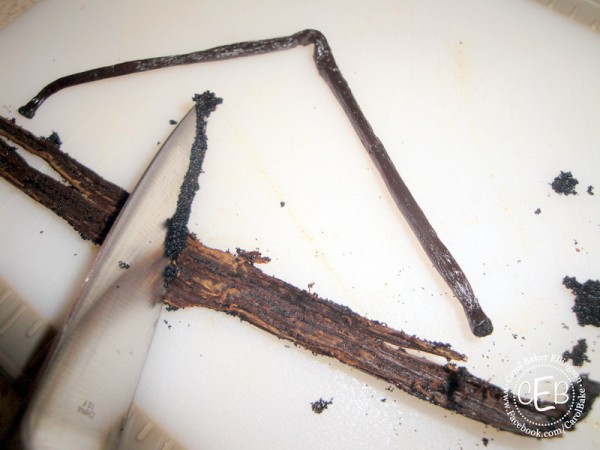
-Take 2 Vanilla Bean pods and cut in half lengthwise with a very sharp knife. Scrape seeds with the tip of the knife.
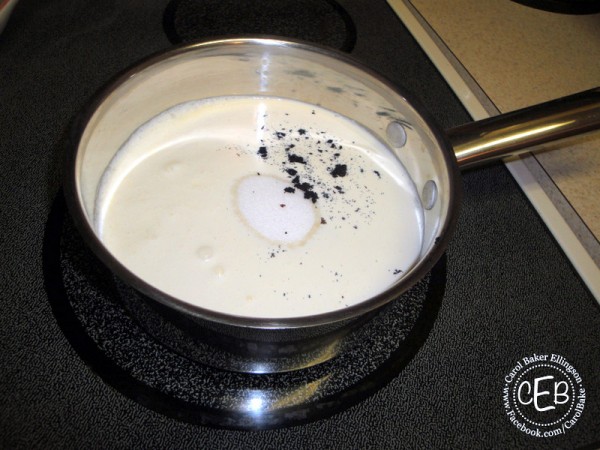
-In a 2 quart saucepan, bring the heavy cream, milk, sugar, vanilla beans and vanilla bean seeds just to a boil over medium heat. Mix all of these items together, but don’t over beat.
WARNING: Now get ready to make custard! This is the part you really need to pay attention to and follow exactly. It’s easy to do, but if you don’t follow the instructions on tempering your eggs, you’ll end up with runny, scrambled eggs instead of a smooth custard!
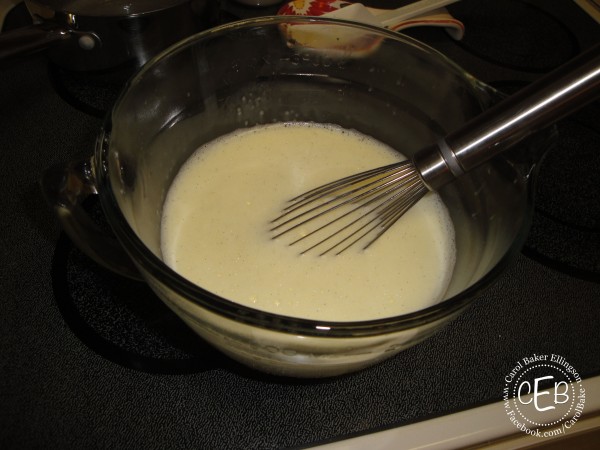
-Take your mixing bowl filled with 6 egg yolks and add ONLY 1/2 Cup of milk mixture. Whisk together. This is called tempering your eggs.
-Then slowly pour in the remainder of the milk mixture while whisking.
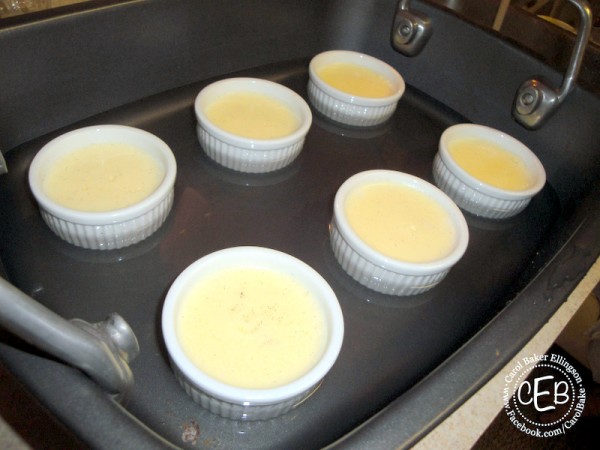
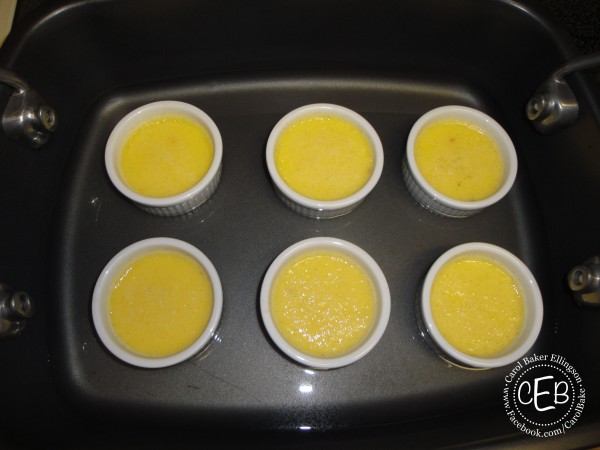
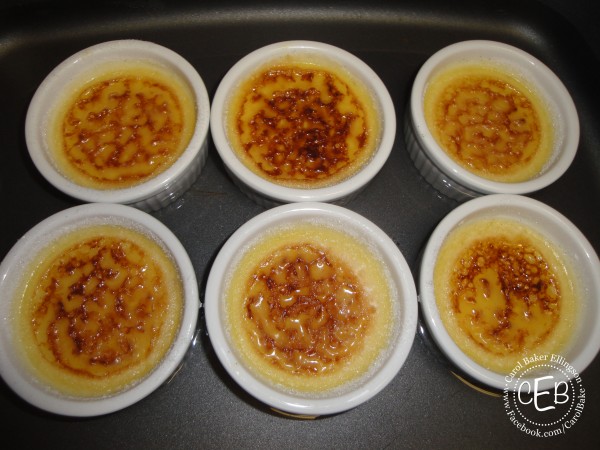
-Pour the mixture into a 9-10 inch shallow glass baking dish or evenly into 8 ramekins. I chose to use ramekins to make individual servings. I only had 6 ramekins, so I had custard batter left over.
-Fill a roasting pan with enough hot water to come half way up your baking dishes.
-Add your dish or ramekins to the roasting pan water bath.
-Place roasting pan on bottom rack of oven and cook for 45-55 minutes, or until set. You will know it’s set when the edges are a little firmer and the overall feel of the custard is not liquid.
-Take roasting pan out of the oven and cool to room temperature.
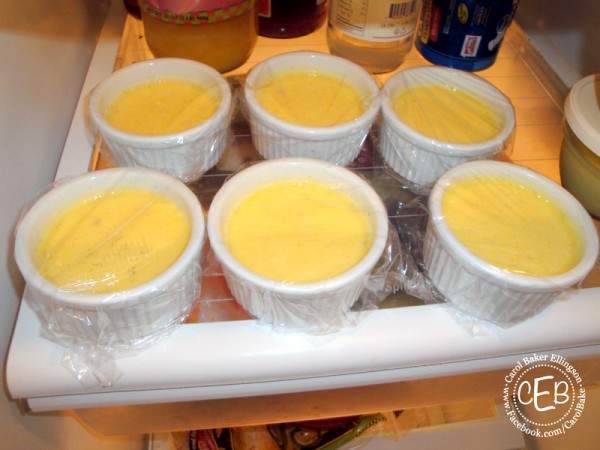
-Then place in fridge covered to chill for 3 hours or overnight, until very cold.
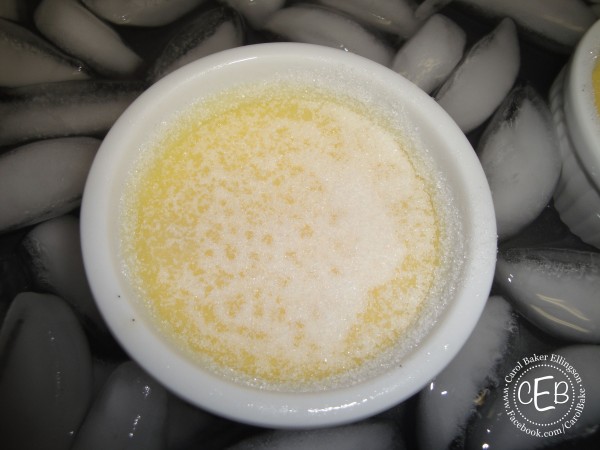
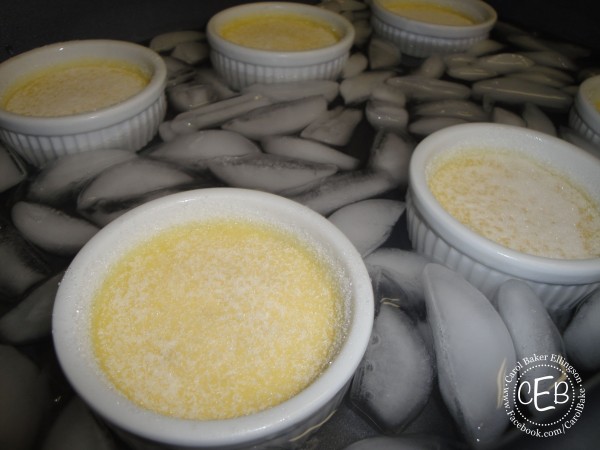
-When ready to serve, sprinkle the top of the custard with the remaining 1/4 cup of sugar.
-You can caramelize the top with a blowtorch, but if you don’t have one, place the dishes back in your roasting pan of ice water and broil, watching carefully, just until the top is caramelized.
That’s it! Now we get to enjoy this amazing dessert! This is a great dish to serve to the entire family for a special celebration (like the dinner where you announce that you are going back to Disney or taking your first trip to Disney!!!).
Or put the kids to bed and enjoy this dessert with that special someone remembering sweet Disney memories from years gone by! I hope this dish brings you wonderful memories with each creamy, sweet bite!
A Few Lessons I Learned
Here are a few extra things that I learned while making this recipe for the very first time that may help you while you are making it:
-We found a package of 2 vanilla beans at World Market for just $2.99!
-Use whole milk not reduced fat of any kind. The milk fat in whole milk will help your custard set up thicker. I used 2% not even thinking about it until after I was done. Mine turned out perfect, but I know from cooking experience that it would have been thicker if I had used whole milk.
-Take the top rack out of the oven when cooking, and place your roasting pan on the bottom rack as close to the bottom burner as possible. Since you are cooking on such low heat, it would have been better to be closer to the heating source. It took mine a lot longer than the recipe cooking time to set until I figured this out and changed the rack.
-I chose to use individual ramekins even though the recipe called for one baking dish…personal choice, but I believe crème brûlée should be served individually! I believe that is makes it just a tad bit more special;)
-Make sure to get 8 ramekins not 6…this recipe makes 8 servings.
-Pour the custard mixture evenly into each cup so that they all cook evenly and equally. Make sure all 8 dishes are the same size and shape.
-Blowtorch is optional, but it would have browned all the edges evenly. That’s something I couldn’t get the broiler to do. Still formed a perfect crust, so when I make again, I will still continue to use my oven broiler. Not worth the extra expense to me just to brown the edges more!
Don’t forget to check out even more Disney Creme Brulee in our Creme Brulee Photo Gallery! And check out even more DIY Disney Recipes here!
Have you ever made Creme Brulee at home? Let us know your tips and tricks!
















 Our handy (and portable!) ebook guides make sure you get the best deals and can plan a vacation of a lifetime.

Thanks for the recipe — I must be blind (wouldn’t be the first time!), but I didn’t see what temperature to set for the oven.
This will be great for one of those “I’m missing WDW and it’s awhile until our next trip” days. Looking through the creme brulee gallery makes me want to try far too many of them.
I have made creme brûlée before and it is actually quite simple. I would love to add some vanilla bean to it for some extra flavor. The custard mix also makes great ice cream! (We discovered that by accident)
They looked amazing, I would love to be able to wait for this wonderful dessert. I think I’d rather just have someone make it. 🙂
I see where it says Preheat the oven to 250 under Instructions.
Joni — thanks for pointing out the temperature! 🙂
I am assuming that you removed the actual bean before pouring into the ramekins. some of us are quite literal 🙂
Hey Marc- It’s easy to overlook stuff! 250 just like Joni said!
Sue-Make them this weekend!!! Pull out the photo albums and enjoy the memories and start planning your next trip!!:)
Katie- I thought the same thing when I was making it…good to know you tried to turn it into ice cream…I was afraid to spend all that time and waste the ingredients on the idea that it may work:)
Jenny-ha! Forward the recipe to your best friend and ask them to make it for you;)
Joni-Thanks so much for coming to the rescue with the temperature!!!
Julie- Yes, definitely take out the vanilla bean pods…I actually left them out all together. I only put in the vanilla bean seeds. I’m literal too, sorry for not mentioning that:)
I got so excited when I saw this recipe because a) I can always go for a good dose of Disney nostalgia and b) I (thought I) had all the ingredients and I never knew creme brûlée was so simple to make. Sooo, I got the cream/sugar/milk/vanilla bean mixture on the stove and go to separate my eggs, come to find out I’ve only got 3 eggs. Jiminy crickets!! I couldn’t go to the store because my 1-year-old was napping and my husband had my car. Let me just say THANK YOU to the person who mentioned ice cream!! I just added two eggs instead of six, let it thicken on the stove a bit, cooled it off then dumped it into the ice cream maker. Genius! I never would have thought of it if I didn’t see that comment :]
Well, I hope they taste good! Got up at 4 am this morning to make them for dessert tonight. I used the organic brown sugar so it’s darker than yours, Carol, but if it tastes as good as the little left over bit, yum. I doubled the recipe and had enough for the 12 ramekins. Wish I had mint leaves and raspberries to top them with but got extra heavy cream to make whipped topping. I did have to leave them in about 20 minutes longer with propane heat so will try top rack next time. Heat rises so might work quicker. Will post results tonight! 🙂
Great recipe. I like the pics too.
I usually cover my creme brulees w foil poking a few holes in the foil first before covering. They bake more evenly and quicker.
The mixture can last for 2 weeks maybe longer if sealed in a closed container.
They don’t last that long in my house.
Thx for sharing.
Teri
Sadie- great story! Glad it worked out! Have you tried the recipe again???
Stella- I had to leave them in longer than the recipe calls for, too. They finally started getting done when I put them as close to the bottom heating element as I could get them! How did they taste???
Teri- great tip! I’ll have to try that next time! Thanks for the kind words!!
Thank you for sharing your recipe. I made this and thought it was waaaay too sweet! I have a huge sweet tooth and the 1 cup of sugar for the custard was just incredibly too sweet for us. Again, we never know until we try and I appreciate the time you took posting the recipe and photos. Thank you