We’ve been spending our time in quarantine doing lots of home projects and Disney arts and crafts (you should see our DIY Minnie Ears and homemade attractions!).
While we’re using all our creativity right now, we’ve got a SUPER fun way to decorate your journals, planners, and more! (Warning: you may miss Disney even more!)
From the smell of candy on Main Street, U.S.A. to the apple pie in PhilharMagic, there are some ICONIC scents that just remind us of the parks. Although Disney World and Disneyland are closed “until further notice” right now, you can still bring a bit of the magic into your everyday life by making your own Disney DIY Scratch-N-Sniff Stickers!
What You’ll Need:
Ok forewarning, this requires a few supplies you probably don’t just have lying around unless you’re mega crafty, but we promise the results are fun and worth it if you’re up for a crafting adventure!
Option 1:
- A printer
- Cardstock paper
- A bowl
- A 1/2 teaspoon measuring spoon
- A heat gun embossing tool
- A 1.5″ circle punch or scissors (depending what shapes you want)
- Clear embossing powder
- Embossing pen
- Sugar-Free Jello
- Adhesive Sticker Machine
- Essential Oils (for shortcut)
Option 2:
- A printer
- Cardstock paper
- Adhesive Sticker Machine
- Essential Oils
Instructions
Option 1: From Scratch 
-
- While you can always find images online to print out of your favorite characters or treats, we think it would be a blast to draw or design your own doodles to scan into your computer! Whatever you choose to do, make sure to size down the images so you can fit multiple on a sheet of paper.
- After you’ve printed them on cardstock paper, punch out the stickers (well, almost stickers) using a 1.5″ circle punch or use your scissors. You can choose whatever shape you’d like!
- In a bowl, use your 1/2 teaspoon to measure out two scoops of clear embossing powder (for a total of 1 teaspoon). Then, scoop out one scoop (1/2 teaspoon) of your flavor choice of Sugar-Free Jello. Mix them together until they’re blended well. (Make sure that your Jello is sugar-free, or the smell won’t stick, friends!)
- Set aside the bowl and use your embossing pen to cover your stickers. The ink is clear so you won’t see anything, BUT this will act as the glue to stick the scent to your newly designed doodle.
- Time for the smell! Make sure to put the embossing mix over the pen’s clear ink right away. Pour the excess back off into the bowl then hold the heat gun directly over the sticker until the powder melts. Set aside the stickers to cool.
- Scented paper is pretty cool by itself, but if you want to really make it a sticker, it’s time to whip out the sticker maker! Put your designs in one at a time to finish.
Then, TA-DA!! You’ve got yourself your own Disney Scratch-N-Sniff Sticker!
Option 2: When You’re Pressed for Time
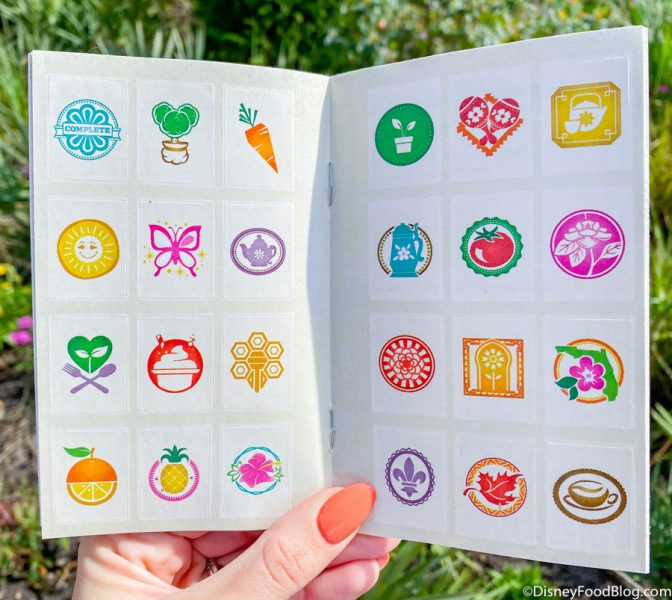
You can also print off your images, hole punch or cut them out, then run them through the sticker maker. If you’ve got old Epcot Festival passport books with stickers or Mickey stickers lying around, this is a great opportunity to use them up! Then, take one drop of your desired essential oil scent over the sticker. Use your finger to lightly rub it all over the design (but don’t rub it for too long, or the color will bleed). After you’ve set it aside to dry, you’ll have a scent creation!
We’re already thinking up all the cool Scratch-N-Sniff Stickers we can make — like the orange scent for Orange Bird, strawberry for Lotso from Toy Story, lime for a Lime Dole Whip, or Cedarwood for Pinocchio! If you don’t have a sticker maker, you can always just make some delicious-smelling scratch-and-sniff pieces of art! There are sooo many fun possibilities (and we can’t wait to see what you all think of!).
Want more ways to Disney DIY? Check out all of these Disney recipes you can make with the whole family!
Join the DFB Newsletter to get all the breaking news right in your inbox! Click here to Subscribe!
Which Disney stickers do you want to make? Let us know in the comments below!


 Our handy (and portable!) ebook guides make sure you get the best deals and can plan a vacation of a lifetime.

TRENDING NOW
Being a Disney Adult certainly has its perks, but what happens when your fellow adults...
EPCOT in Disney World is about to look very different in just a few days!
Disney's 2025 Easter Collection has arrived at Target!
4 Disney Loungeflys you need if you're staying at Pop Century Resort at Disney World!
Let's talk about why 7 AM isn't going to matter anymore in Disney World real...
Trust us, you're not gonna want to miss these Disney deals on Amazon!
Don't miss out on this exclusive Disneyland Resort hotel offer for Disney Visa cardmembers!
Don't go to Disney World in March until you know about these changes!
Disney sakura plushes are now available on the Disney Store!
LEVEL99 is coming to Disney World!
Let's talk about this refillable mug change at Disney World that Disney Fans are demanding!
We finally know when this Disneyland restaurant will reopen after refurbishment!
These 9 rules will help you WIN Disney World!
Universal has released more ticket information for Epic Universe!
There's a secret menu at this Disney World hotel -- and we're spilling the secret!
You've got a little time left to enjoy these things that are closing in Disney...
LEVEL99 is coming to Disney Springs! Wait, what is LEVEL99?
If you're heading to Disney World in 2025 and have never been or haven't been...
Calling all Bluey families! These new crocs are for you.
Okay, it's finally time we talk about it -- we have a MAJOR issue with...