This weird time is proving to be a great time for DIY projects and home improvements, so why not do both?
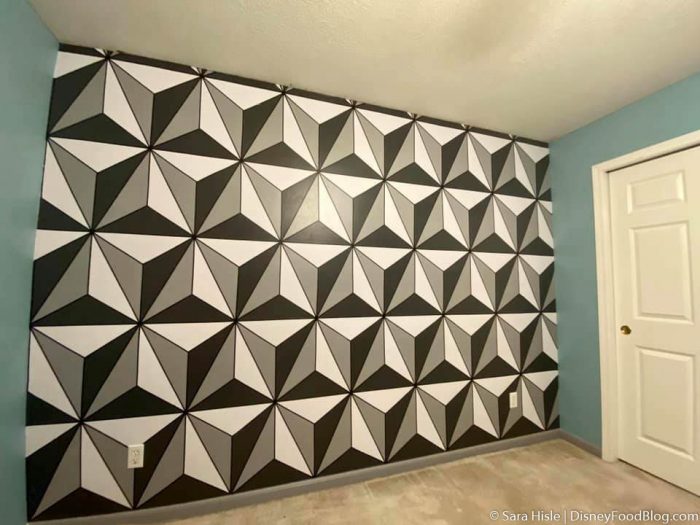
Take a look at that SUPER COOL Spaceship Earth wall that a major Disney fan, Sara Hisle, painted in her home (thanks to a tutorial from another Disney-lover, Ginny Curtis Phillips). Um, sign us up! If you’re looking for something a little more Disney-specific than our parks-inspired paint colors — this Epcot wall might be the project for you! Check out the how-to!
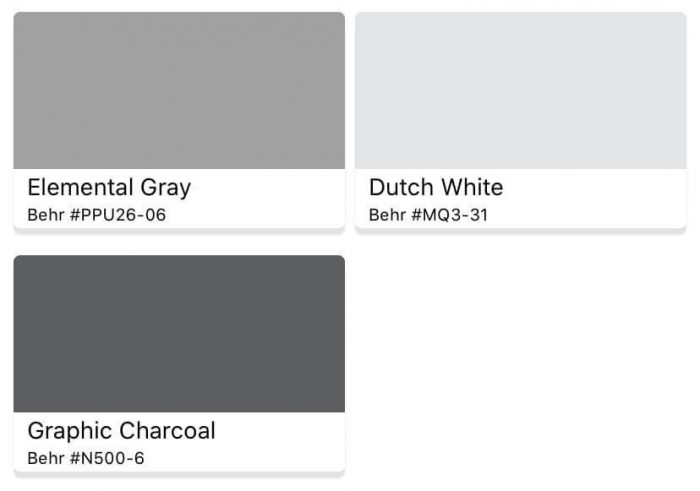
To make your very own Epcot wall, you’re going to need some paint. Sara used these greys from Behr.com in Elemental Gray, Dutch White, and Graphic Charcoal plus a plain Black! You can order these guys by the gallon online. This project took about half a gallon of each of the greys and 3/4 of a gallon of black paint.
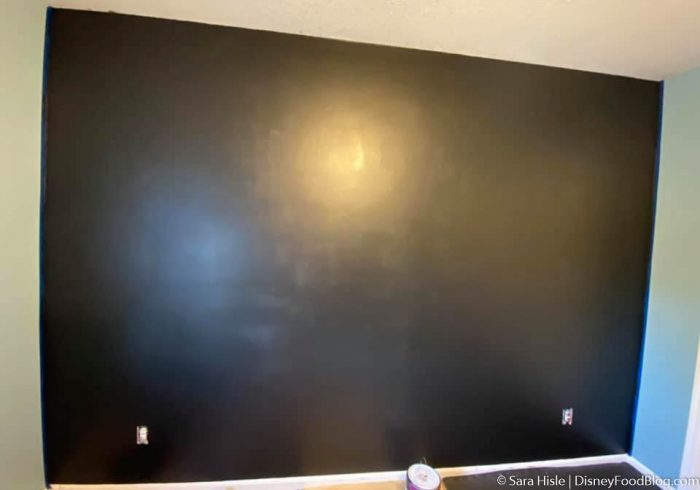
The wall that Sara painted is 7.5 x 10.5 feet for your reference, but the design is easy to expand! To start, paint your chosen wall black.
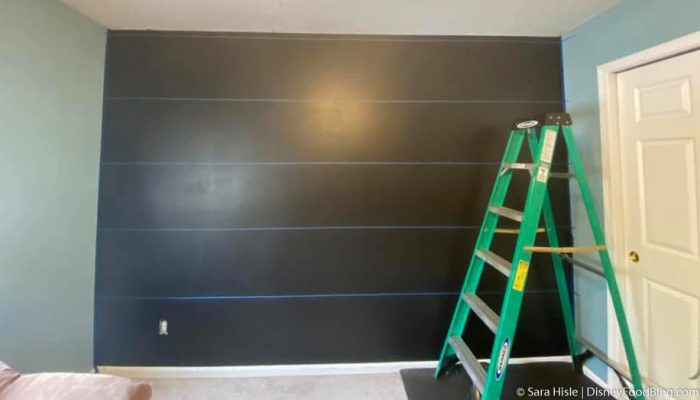
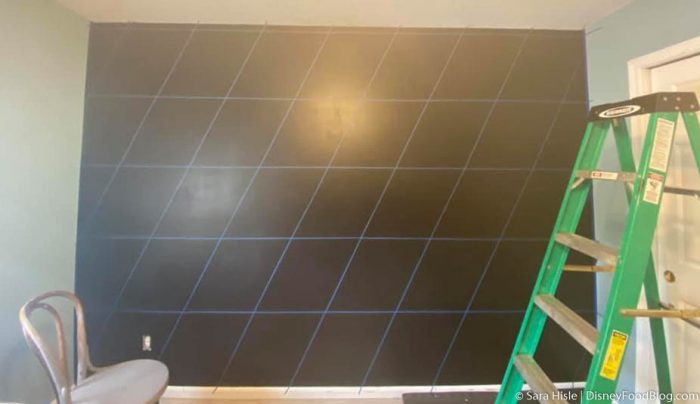
Next, get ready to get taping! You’re going to tape 18-inch horizontal lines using painters tape. Sara used 1/4 inch tape that she found on Amazon! You can grab some similar tape here.
Then, you’re going to go back in with the tape at a diagonal. Start from the bottom and put a line across every 18 inches. To get this really accurate, every other line mark 9 inches in to offset and from there you can measure the 18 inches.
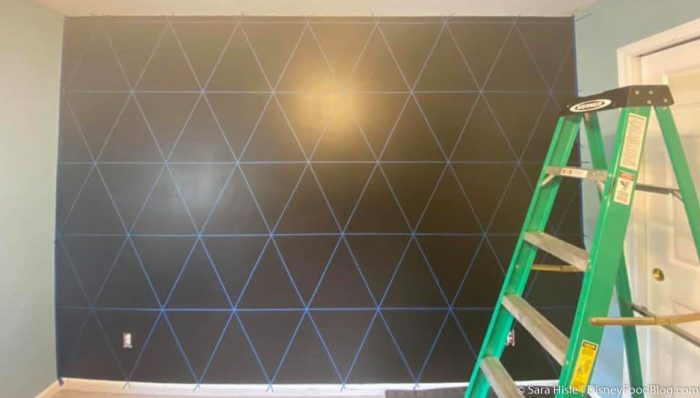
Then go the other way! Use your tape to connect all the corners!
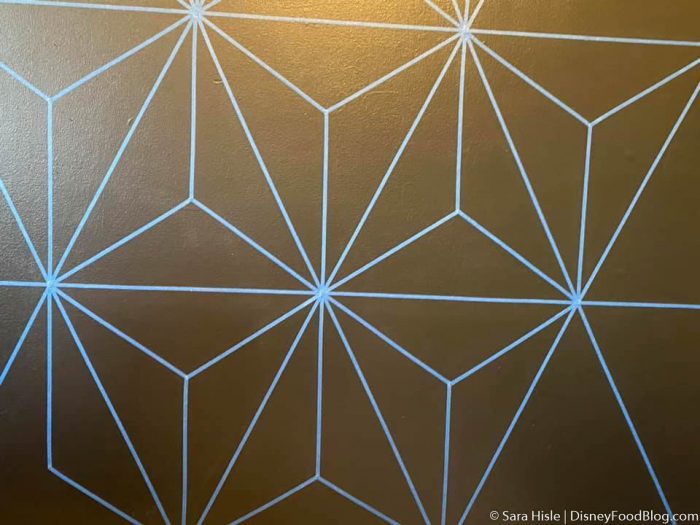
Here’s where it alllll starts to come together. Put a mark 12 inches down from the point of the upside triangles. For the upside-down triangles, put the mark 12 inches up from the point. Then, use tape to connect the corners to your center mark.
Then paint the WHOLE wall black again to seal all the tape! Remember to let the paint coats dry between each step.
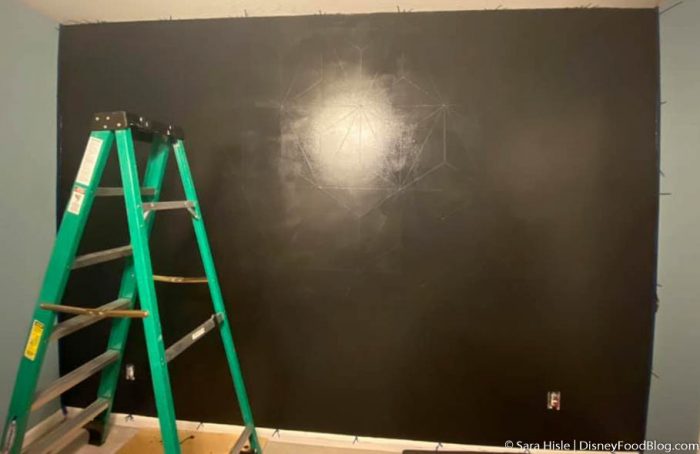
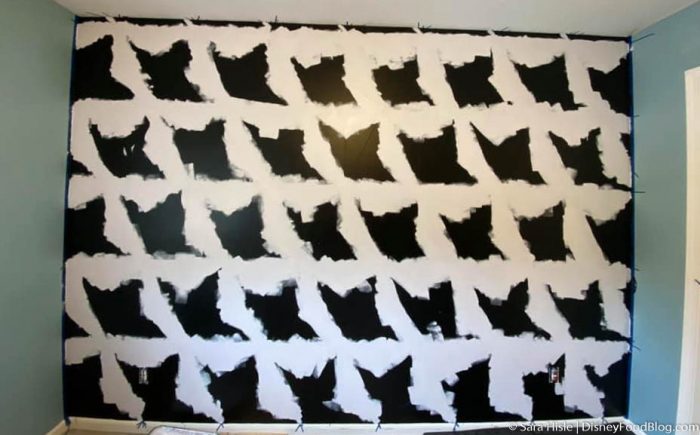
Moving on, grab your white paint and follow the pictured pattern. It doesn’t have to be perfect! You’ll be covering up those edges.
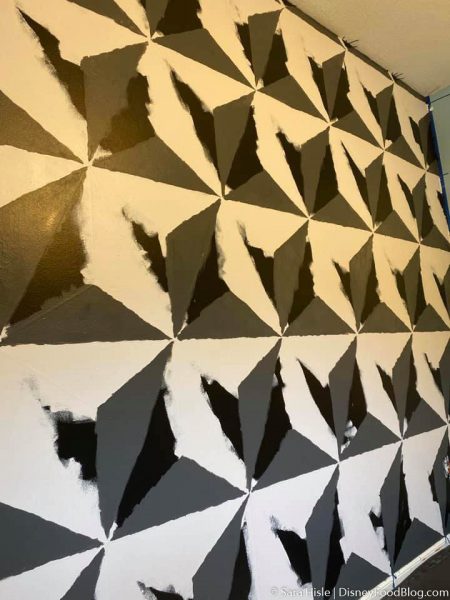
Here’s where it gets tricky. Now you’re going to paint in the dark grey triangles. Be careful! Try to stay in the tape lines as best you can.
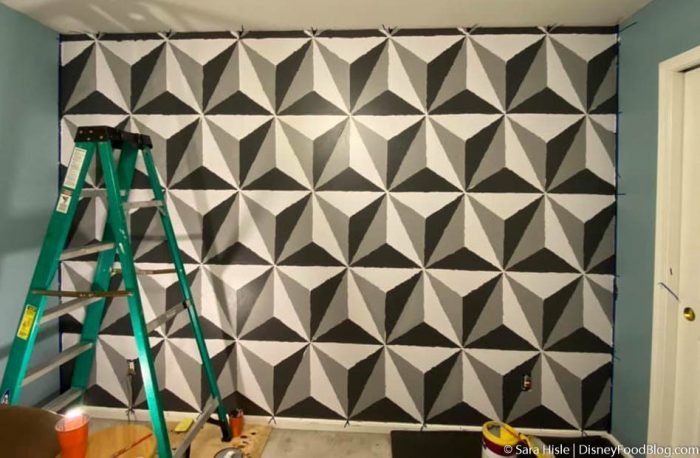
The lighter grey is next. You can use a baby wipe if you make a mistake — that tape is tiny! Look! It’s really starting to come together.
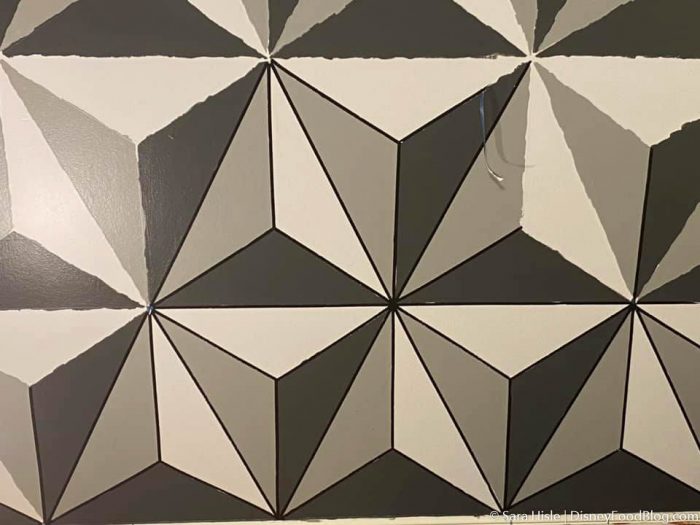
Now for the best part. Once all is dry, remove the tape! Do so CAREFULLY! Chances are you’ll have a few touch-ups to do, but hopefully not too many.
And there you have it! You have your very own Epcot wall! Thanks again to Sara Hisle for the use of her pictures and the GREAT instructions and to Ginny Curtis Phillips for such a bold and fun idea! We can’t wait to pick a wall and get painting!
Looking for more Disney-inspired ways to paint your walls? Click here!
Join the DFB Newsletter to get all the breaking news right in your inbox! Click here to Subscribe!
WE KNOW DISNEY.
YOU CAN, TOO.

Oh boy, planning a Disney trip can be quite the adventure, and we totally get it! But fear not, dear friends, we compiled EVERYTHING you need (and the things to avoid!) to plan the ULTIMATE Disney vacation.
Whether you're a rookie or a seasoned pro, our insider tips and tricks will have you exploring the parks like never before. So come along with us, and get planning your most magical vacation ever!
How tempted are YOU to paint this Epcot wall in your house? Tell us in the comments!













 Our handy (and portable!) ebook guides make sure you get the best deals and can plan a vacation of a lifetime.

I’m looking for a good haunted mansion wall stencil!! Any ideas?
Is there a YouTube video for a better step by step cause this is a bit confusing.
Just finished in my son’s room this thanks to these instructions! It looks great!!!
These instructions are very incomplete. I found the original article and used those. They were definitely easier to follow.
I researched ALL of the different articles with information about the paint colors and equivalents from each different brand. Behr is THE ONLY store where the numbers were accurate.
So it’s easiest just to go with Behr (Home Depot).
So just FYI.