With many cities and states either strongly urging or even requiring patrons to wear masks when entering public spaces like grocery stores, it’s important to be stocked up on personal protective gear for your face!
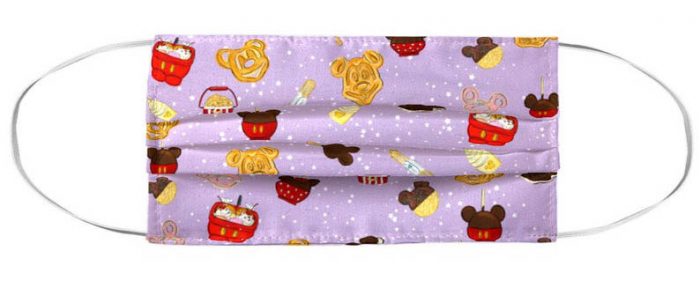
And while we found some SUPER adorable pre-made Disney masks, the demand for these items are understandably high. Folks are running into some problems with these pre-made masks; they’re either sold out or they won’t ship for weeks!
Why not save money AND time by making your very own Disney mask! We found both sewing and non-sewing step-by-step guides that you can follow to make your own face mask.
The best part is that most of these materials should already exist in your home, but if you are in need of extra fabric, we have some resources for you to check out, too!
Disney SUPPLIES That You’ll Need To Make The Masks!
The first and most important thing you’ll need to make sure you have well-stocked is cotton fabric. Your household should be full of materials you can use, even old t-shirts (more on that in a second!); but if you want to create something truly unique and special, why not get some fun Disney fabric?
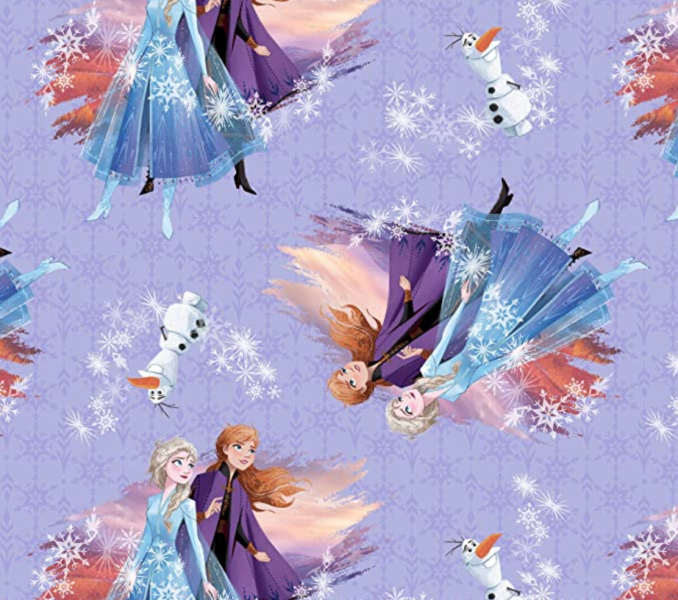
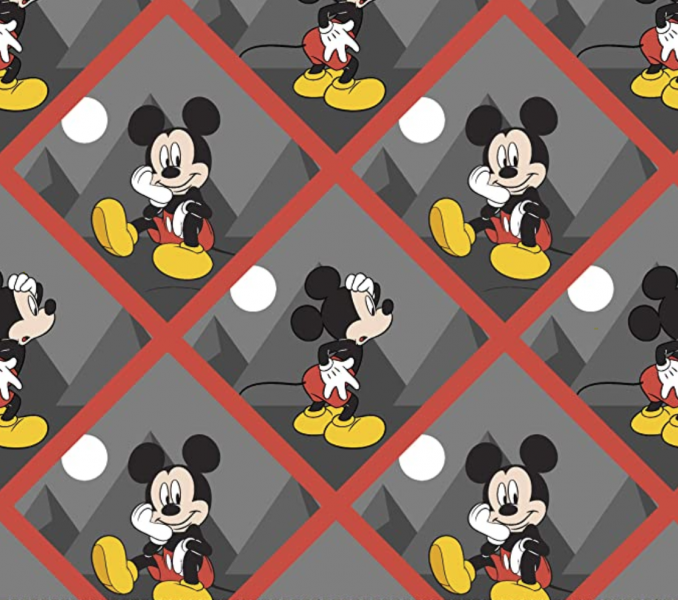
Whether you’re a Frozen fan or looking for classic Mickey Mouse designs, we found some materials that you can get online! Note that due to higher demand, the availability of this fabric may vary depending on when you check these sites! If you’re sewing a mask together, you’ll want to make sure you get enough fabric for two 10″ x 6″ rectangles per mask.
Do trips to the grocery store make you feel like you’re stepping “into the unknown” these days? Bring Anna and Elsa along on your next adventure with this Frozen 2-inspired fabric.
Like we mentioned, we found a classic Mickey design that you can use as well.
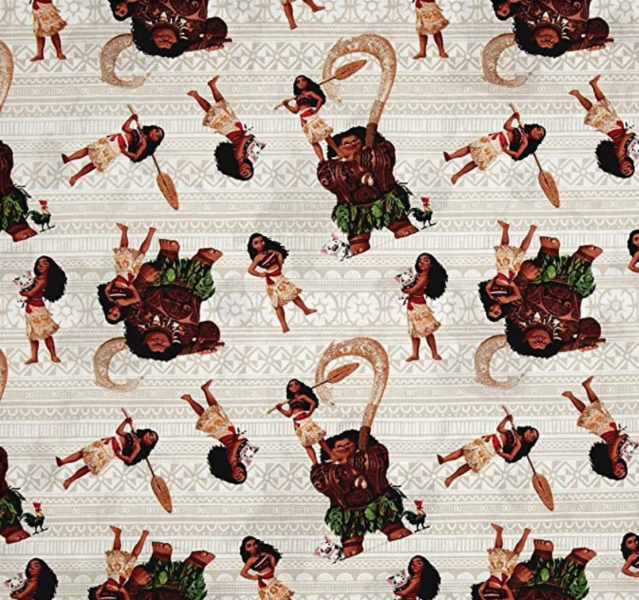
And for all you Moana fans out there, you can use this fabric, too! As Maui always says, “You’re welcome!”
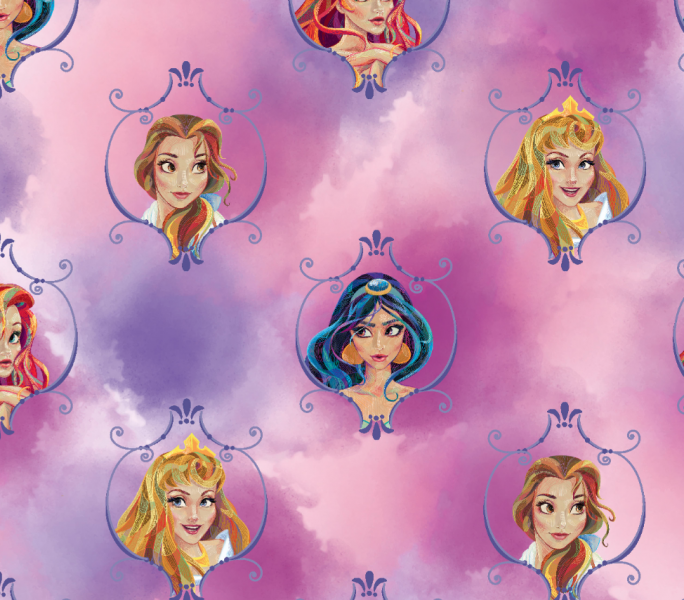
Are there Disney princess fans in your house? Give them the royal treatment with this adorable princess pattern that we found!
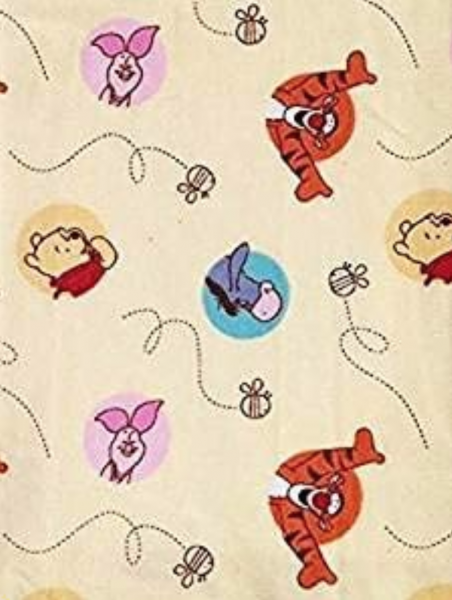
And finally, what can possibly be cuter than this Winnie the Pooh fabric? That’s right, nothing! 😉
The Basics Of Making Your Own Mask
Now that you have whatever cotton material you’ll be using to make your mask, we’re going to share a step-by-step guide (with pictures, of course) on how to make your mask. We are referencing instructions from the official CDC website.
Method One: Sewing
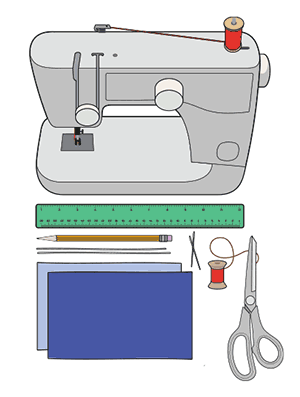
Here are the materials you’ll need when sewing a mask:
- Two 10”x6” rectangles of cotton fabric
- Two 6” pieces of elastic (or rubber bands, string, cloth strips, or hair ties)
- Needle and thread (or bobby pins)
- Scissors
- Sewing machine
Once you have gathered your materials, follow these instructions:
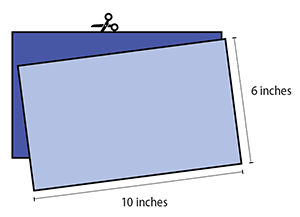
1. Cut out two 10-by-6-inch rectangles of cotton fabric. Use tightly woven cotton, such as quilting fabric or cotton sheets. T-shirt fabric will work in a pinch. Stack the two rectangles; you will sew the mask as if it was a single piece of fabric.
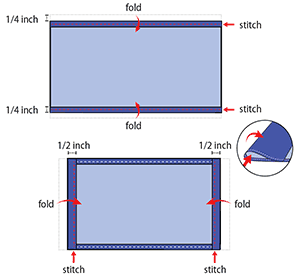
2. Fold over the long sides ¼ inch and hem. Then fold the double layer of fabric over ½ inch along the short sides and stitch down.
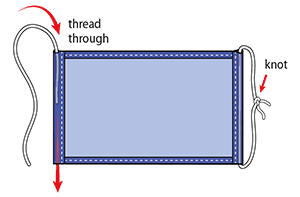
3. Run a 6-inch length of 1/8-inch wide elastic through the wider hem on each side of the mask. These will be the ear loops. Use a large needle or a bobby pin to thread it through. Tie the ends tight. Don’t have elastic? Use hair ties or elastic headbands. If you only have string, you can make the ties longer and tie the mask behind your head.
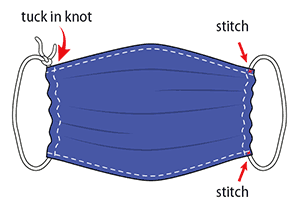
4. Gently pull on the elastic so that the knots are tucked inside the hem. Gather the sides of the mask on the elastic and adjust so the mask fits your face. Then securely stitch the elastic in place to keep it from slipping.
Method Two: No-Sew (T-shirt)
All you’ll need for this second method is an old t-shirt and some scissors! Dig around your closet to see if you have any old Disney shirts that perhaps you no longer wear and can repurpose into a face mask!
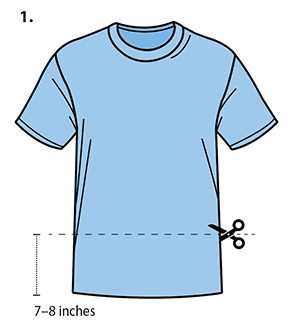
1. Lay your old t-shirt on a flat surface and cut a 7-8 inch section from the bottom of the shirt (see diagram below).
2. Once you have your fabric cut from the shirt, you will cut out a 6-7 inch section from the side of the fabric. Then, you will cut the “tie strings.”
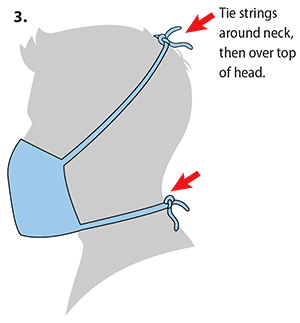
3. Place your t-shirt mask on your face! You will secure the two tie strings for this mask around your neck and over the top of your head, as shown below.
If you’re loathe to waste all that t-shirt material, here’s a fun instagram tutorial on how to make both a mask and a tote-bag from one t-shirt!
Method Three: No-Sew (Bandana)
The second no-sew method will use bandanas. If you don’t have any bandanas, you can use any cotton fabric, as long as it measures 20″ x 20.” Make sure you have the following materials for this method.
- Bandana (or square cotton cloth approximately 20”x20”)
- Rubber bands (or hair ties)
- Scissors (if you are cutting your own cloth)
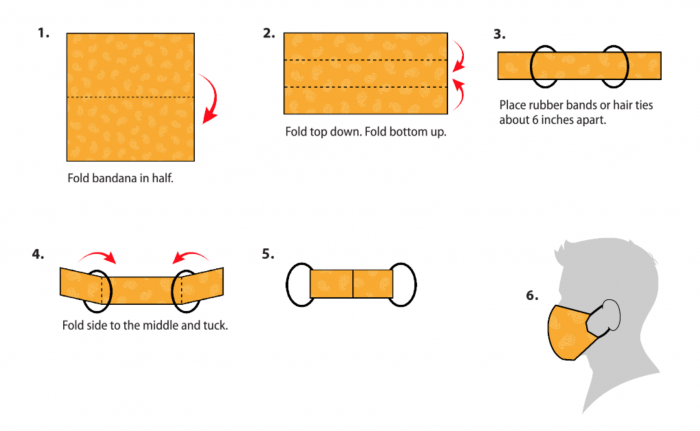
If you are not cutting your own cloth and you already have a bandana to use, all of these steps involve folding — that’s it! SUPER simple! Follow the diagram below to see how to fold together your bandana mask.
Once you have your masks created, you’ll want to make sure you are taking proper care of them so they’re safe to wear every time you go out! In general, you will want to wash these masks after every wear, so make sure whatever mask you choose to use is tough enough to be laundered multiple times. For a full list of recommendations, please visit the CDC website.
We hope that this gave you some insight on how to create your own Disney mask at home! If you end up creating your very own mask, share those pics with us! We’d love to see all of your creations!
See how you can help those working on the front lines here!
Join the DFB Newsletter to get all the breaking news right in your inbox! Click here to Subscribe!
Do you have a supply of Disney masks that you’re using when you go out? Let us know in the comments!



 Our handy (and portable!) ebook guides make sure you get the best deals and can plan a vacation of a lifetime.

TRENDING NOW
Is this the end of an era? WE HOPE SO!
Park Pass Reservations are sold out for Magic Kingdom for three dates in 2025 already!
We are begging Disney World to reopen this very popular location at Disney Springs!
Uh oh! You've forgotten to make a reservation for a restaurant in EPCOT and now...
When we say that this time of year is BUSY, we really mean it. Here's...
Let's talk about what the Loungefly Organizer is and why everyone is grabbing one for...
Now is a great time to grab those last-minute gifts from Amazon since some really...
In September, the South Florida Water Management District requested some additional information for the permit,...
We asked and you delivered -- you told us 6 things that happened in Disney...
The Jim Henson Company's studio lot is being sold to a famous celebrity!
A brand-new Stanley collection has just landed at Target!
Let's see what's in store for TV in 2025.
We are truly obsessed with the latest Disney x Starbucks collab!
We're checking out the crowds in Disney World on Christmas Eve!
We finally have another update about what is going on with the new theme park...
Go to Costco NOW. Trust us!
Book a spot on a Mears Connect bus and cross your fingers that you get...
We LOVE this cheesy snack found in EPCOT sometimes, but if you're like us --...
Shrinkflation strikes again.
These are some of the most wholesome things we've overheard in Disney World!